Deploy View Composer Server 7.5
Hi all,
Today we will discuss about Horizon View Composer and Composer deployment.
Horizon View 7.5 blog series: “Horizon View 7.5”
Previous blog post: “Setting up SQL DB for View Composer & Event DB”
Horizon View Composer used for creating linked-clones in Horizon environment. Linked clones can provides 50% to 90% reduction in storage requirements. Horizon View Composer require a parent VM (Golden Image) snapshot and it create a replica VM from this snapshot. Linked-Clone desktops will have separate delta disk and it “linked” with replica disk. We will discuss more on different clone technology’s used for Horizon view environment later.
View Composer server, can install with vCenter server or we can deploy as standalone server. If you are using vCenter as an appliance then you have to deploy standalone composer server on windows server operating system.
Recommended supported configuration
We will discuss basic requirements for deploying Horizon View Composer.
Supported Operating Systems for View Composer Server
You must install Horizon Composer Server on a supported Windows Server operating system. Below operating systems support Horizon View Composer.
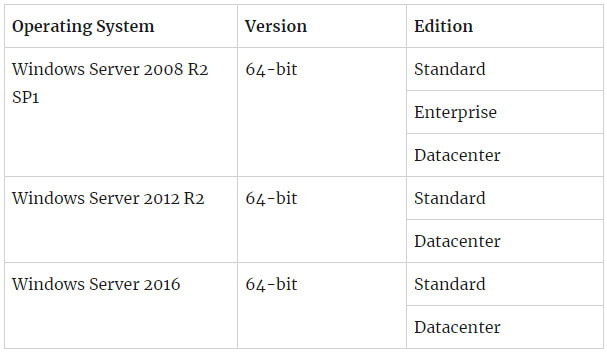
Note:- Windows Server 2008 R2 with no service pack is no longer supported.
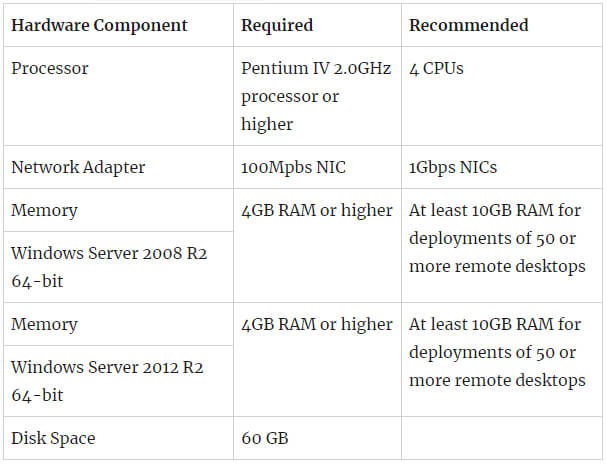
Horizon Composer Server Hardware Requirements
Horizon Composer Server Database options

In my environment I deployed standalone view composer on top of Windows 2012 R2 with 4 CPU and 10 GB RAM.
- Host Name: cmp01
- IP Address: 192.168.0.111
- Domain: vgyan.local
Before proceeding view composer installation make sure server under domain and you have assigned static IP.

I divided this deployment into three parts.
- CA Certificate Enrollment
- Setting-up ODBC connection
- Horizon View Composer Installation
Let’s start..
CA Certificate Enrollment
As I said earlier, SSL certificate is very important for Horizon View Environment, In my previous post we discussed how to deploy Microsoft Certificate Authority.
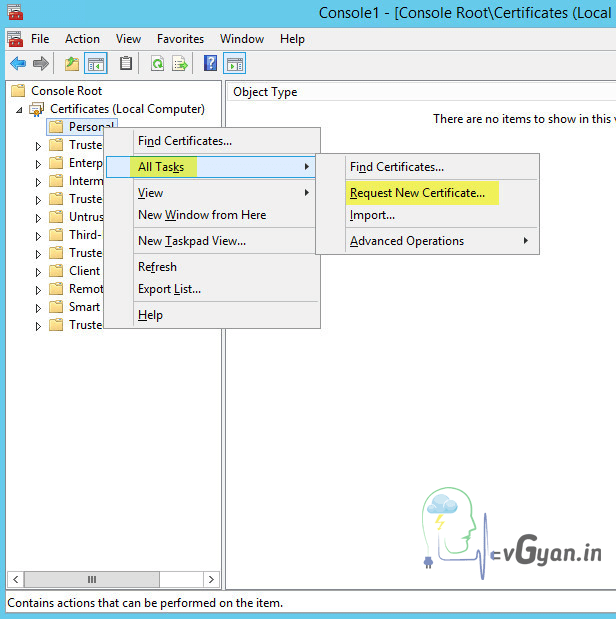
From target server, Open Certificate MMC console. From Console Root, expand Certificates (Local Computer) field. Right click on Personal folder, goto All Tasks and click on Request New Certificate option.
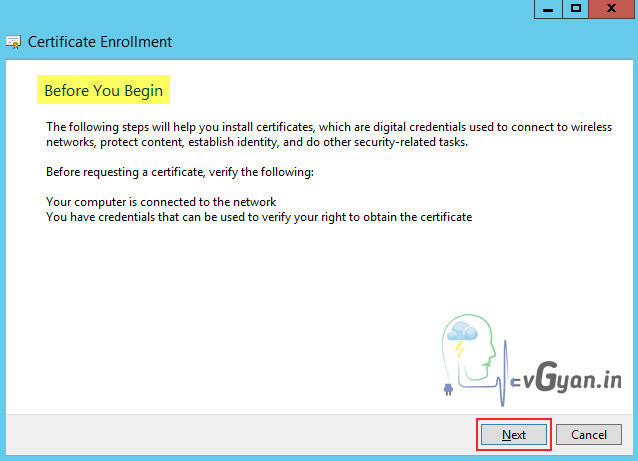
Certificate Enrollment tab, click “Next”.
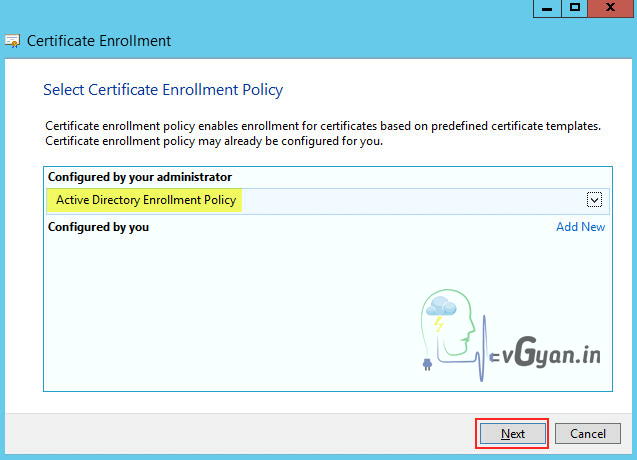
Select “Active Directory Enrollment Policy” and click “Next”.
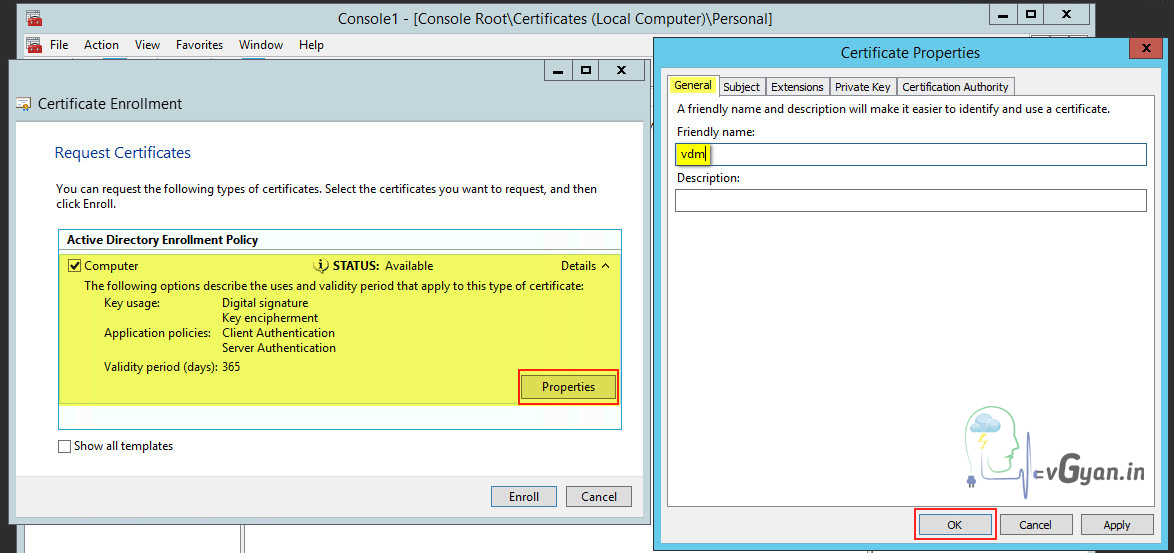
In Request Certificate field, Select “Computer“, make sure status is “Available“.
Go to Certificate Property, in general tab change friendly name to “vdm“.
This is an important point in Horizon View Environment, certificate friendly name should be “vdm“.
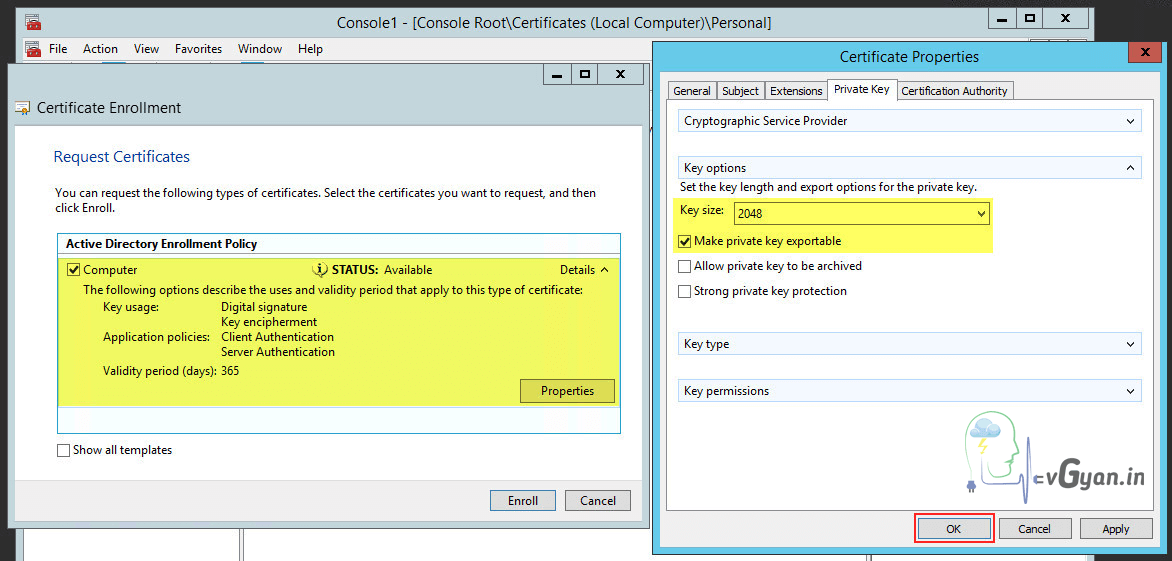
Certificate Properties, go to Private Key tab and select “Make private key exportable”, Click “OK” to continue.
Click on “Enroll” button.
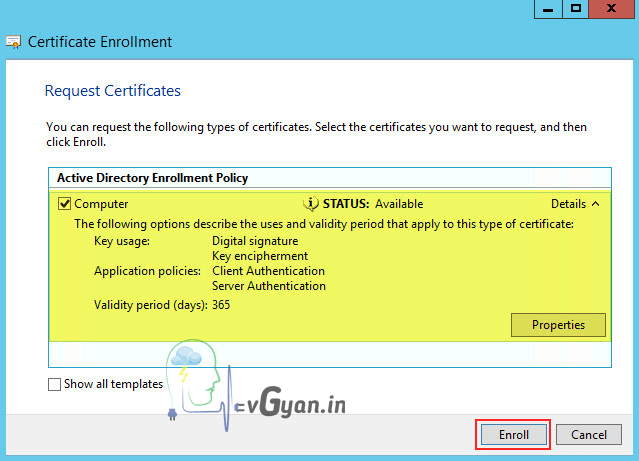
Verify Certificate Installation Results, make sure it’s “Succeeded“. Click on “Finish”.

Verify enrolled certificate under Certificates folder.
- Issued to: cmp01.vgyan.local
- Issued by: vgyan-CA-CA

So now we have valid SSL certificate for Composer Server.
Setting-up ODBC connection
ODBC connection we are using for connecting “viewcomposer” database which is created on DB server.
Open ODBC Data Source Administrator (64-bit) and go to System DSN, Click on “Add” option.
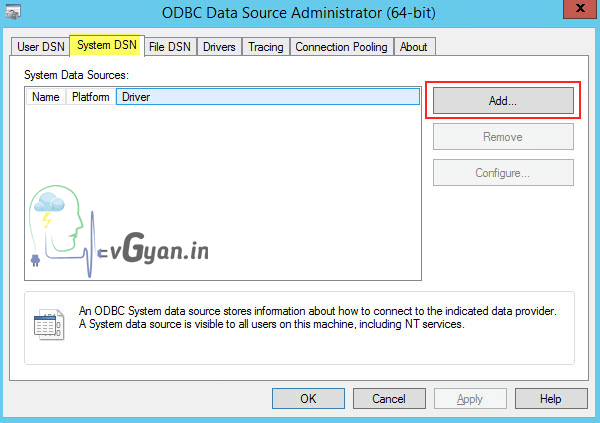
Create new data source, Select SQL server and click “Finish”.

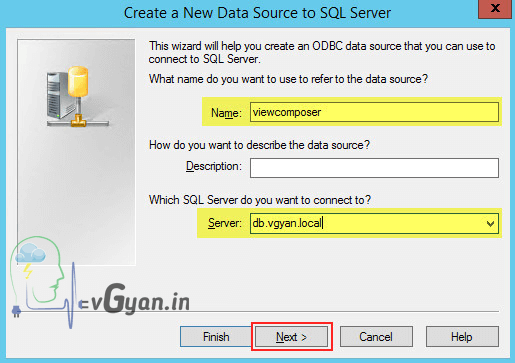
Create a new data source to SQL server tab, provide data source name “viewcomposer” and provide source database server “db.vgyan.local” in server field. Click “Next”.
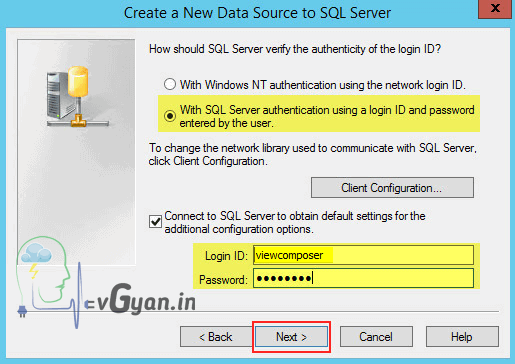
Select SQL server authentication and provide Login ID and Password. Click “Next”.
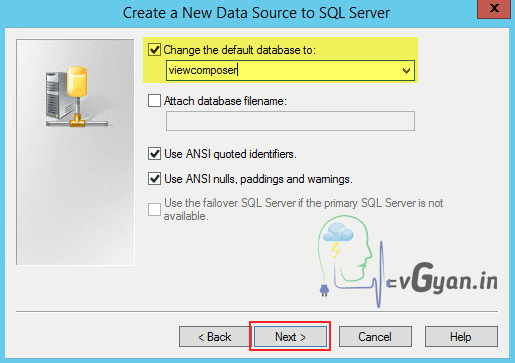
Change the default database to “viewcomposer” and click “Next”.
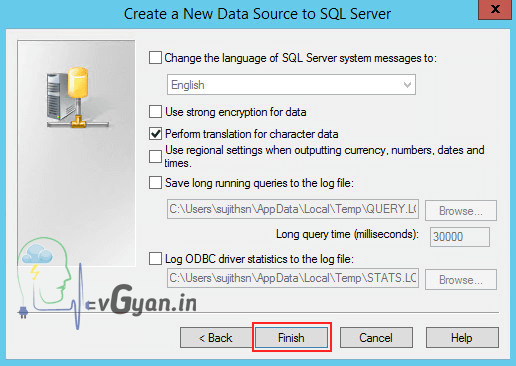
Verify and click “Finish“.
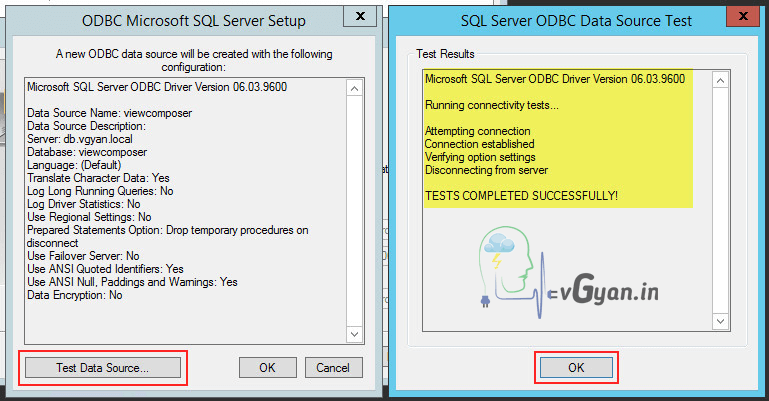
From ODBC Microsoft SQL server setup, click on “Test Data Source” option and make sure “Tests completed successfully”
So we configured ODBC connection for View Composer Database.
Horizon View Composer 7.5 Installation
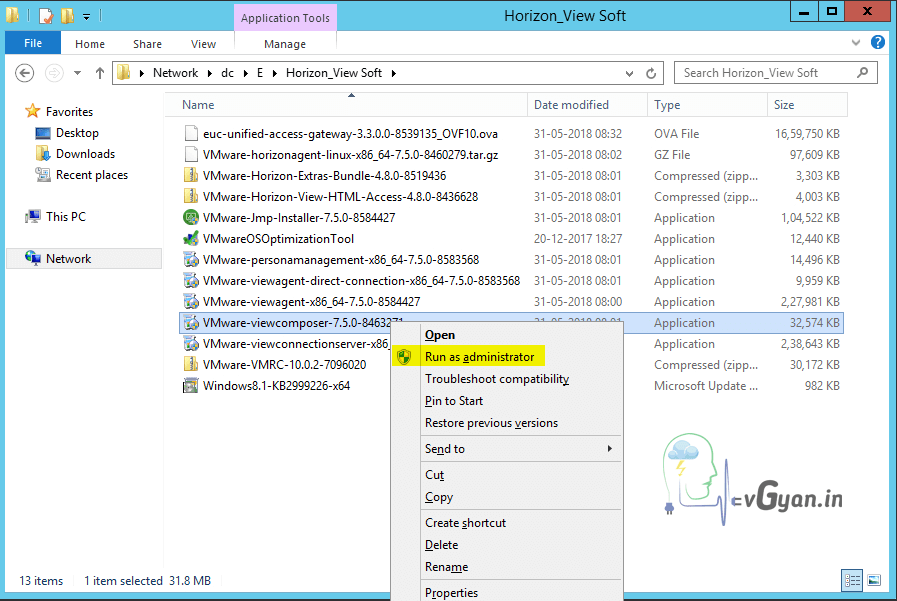
I downloaded VMware-viewcomposer-7.5.0-8463271 software from VMware software downloads.
Open VMware-viewcomposer-7.5.0-8463271 and run as administrator.
View composer installation required .NET 4.6.
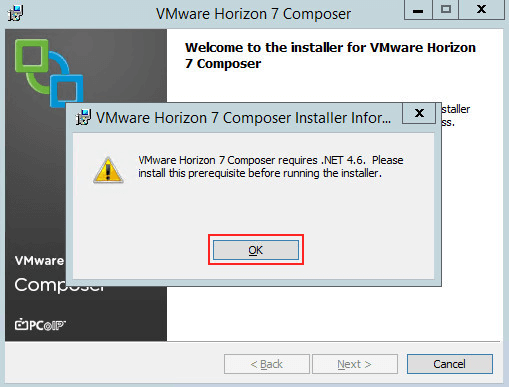
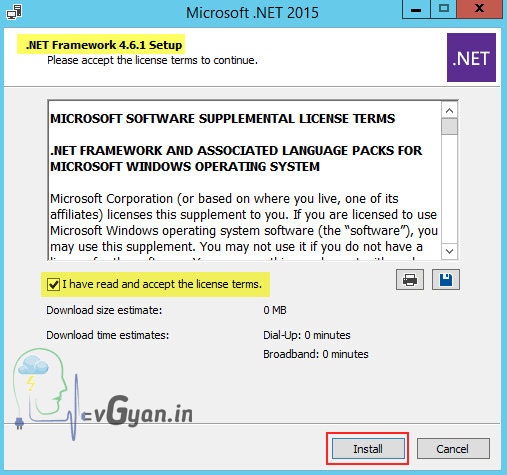
Download Microsoft .NET Framework 4.6.1 and install.
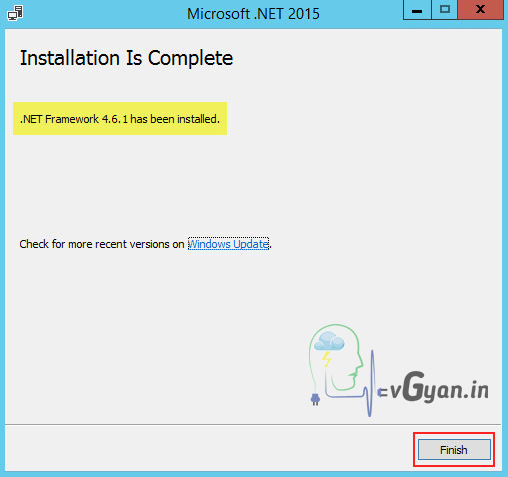
Once the .NET installation completed, some times it requires a reboot. Click “Finish”.
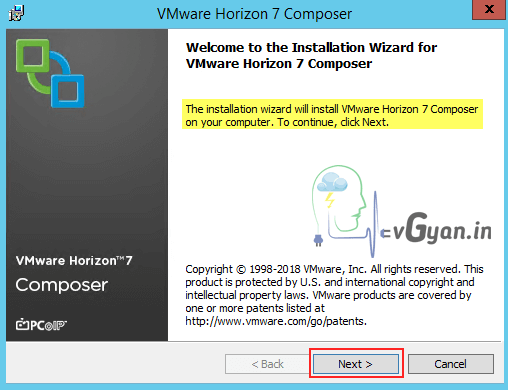
Re-open View Composer Installation software, Click “Next”
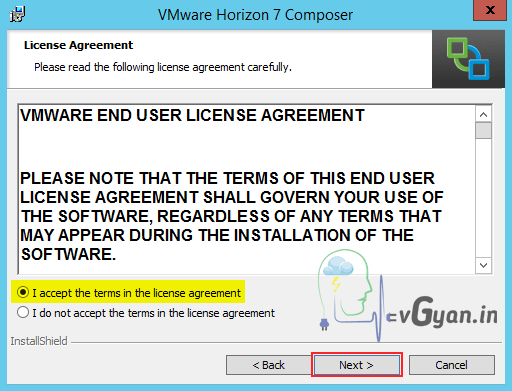
Accept EULA and click “Next”
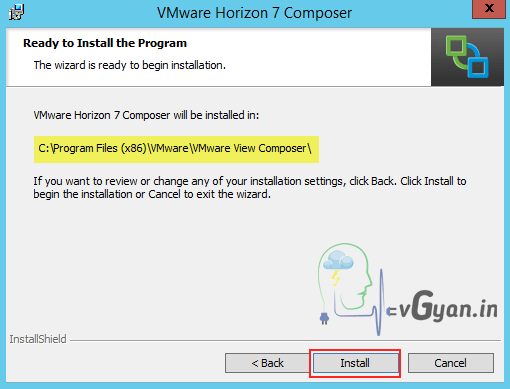
Verify the destination folder and click “Next”.

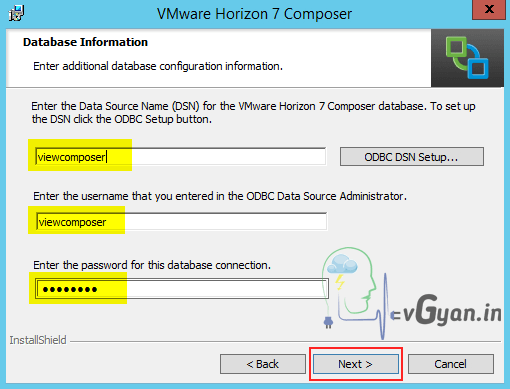
Provide Database Information, if you are not configured ODBC, set ODBC from “ODBC DSN Setup” and click “Next”.
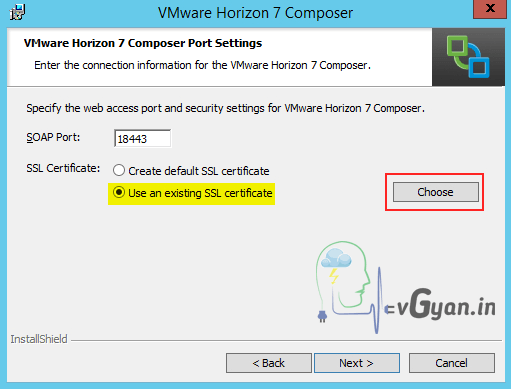
Set SOAP port: 18443 (default),
SSL Certificate: Select “Use an existing SSL certificate option and click on”Choose”.
Note:- SOAP (Simple Object Access Protocol)
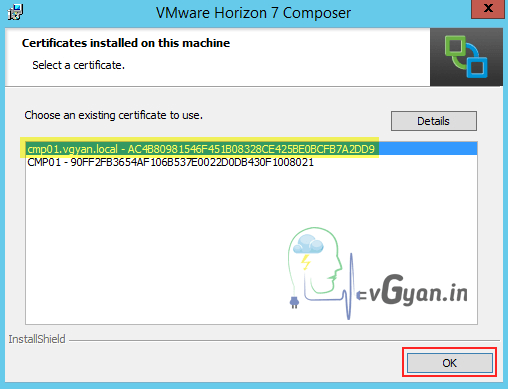
Choose existing SSL certificate and click “OK”, Click “Next” on port configuration window.
Verify and click “Install” option.
VMware Horizon 7.5 Composer Installation completed. Click “Finish”.

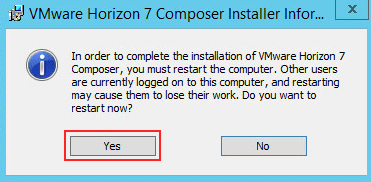
After View Composer Installation, it requires a reboot. Select “Yes” for reboot.
After reboot, verify installed View Composer services are running as expected.
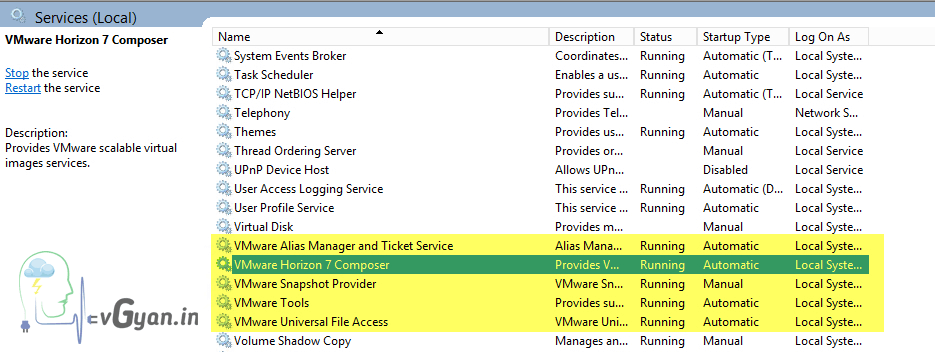
So we successfully deployed Horizon View Composer Server 7.5.0.
That’s all guys.. will discuss more on Horizon View 7.5 in upcoming post, Horizon View components installation and configuration, various Desktop pool creations, Application publishing etc… stay tuned.. ????
Next blog post will be “Deploy View Connection Server 7.5”
I hope you enjoyed reading this post. Feel free to share this to others if it is worth sharing!!!