How to add SSO authentication in vROPS 6.5
Hi all,
Today we will discuss about how to add a single sign on solution to newly deployed vROps 6.5.
Previous posts on vROps,
- How to deploy vRealize Operations Manager 6.5
- How to Configure vRealize Operations Manager 6.5 Appliance
- How to assign license to vROps 6.5
- How to add vCenter Adapter to vROPS
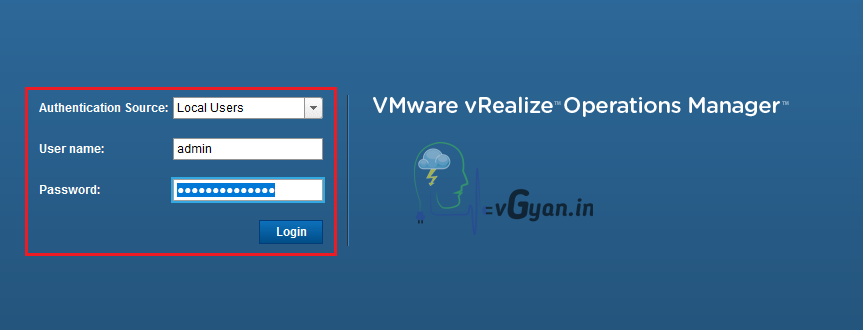
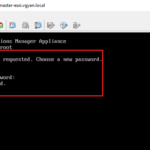
Login to vRealize Operations Manager Web client with local admin.
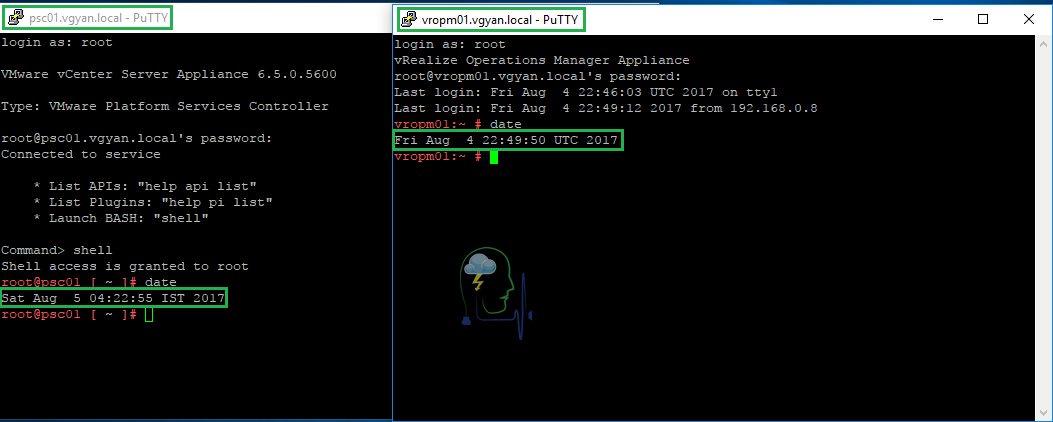
In my lab environment, I have separate Platform Service Controller, before proceeding we need to make sure both PSC and vROps appliance having same system time.
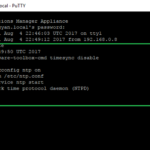
In this case my PSC node is running on IST time zone and my vROps is running on default UTC time zone under same NTP server ntp.vgyan.local.
I did some troubleshooting to setup IST time zone in vROps appliance, I will share you the steps later.
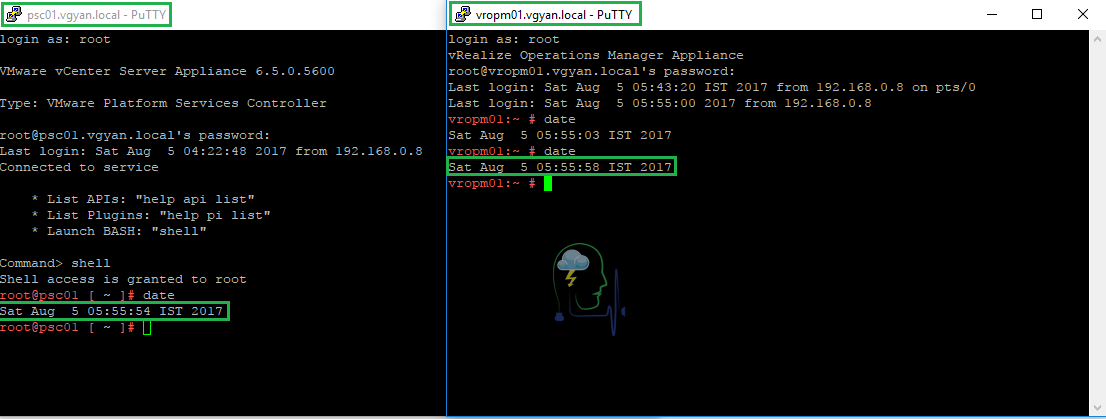
Now both PSC and vROps are in same system time. We are good to proceed..
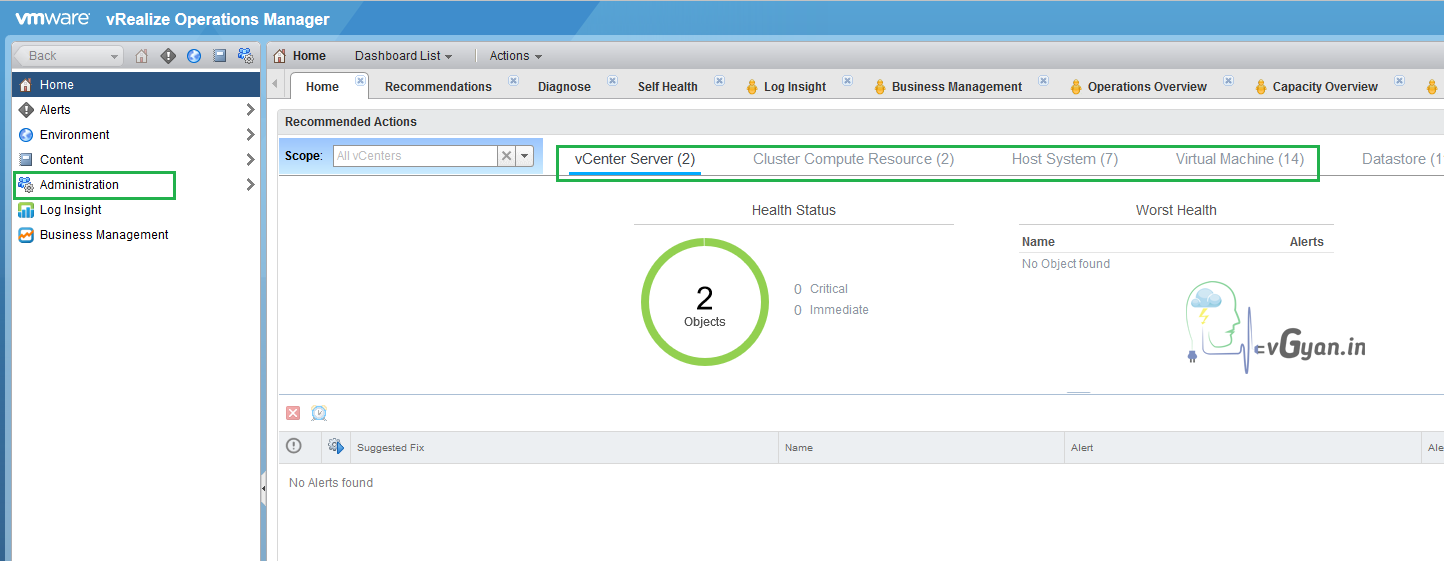
In vRealize Operations Manager Web client, click on Administration.
Click on Authentication Sources and click on green plus (+) icon under Authentication Sources.

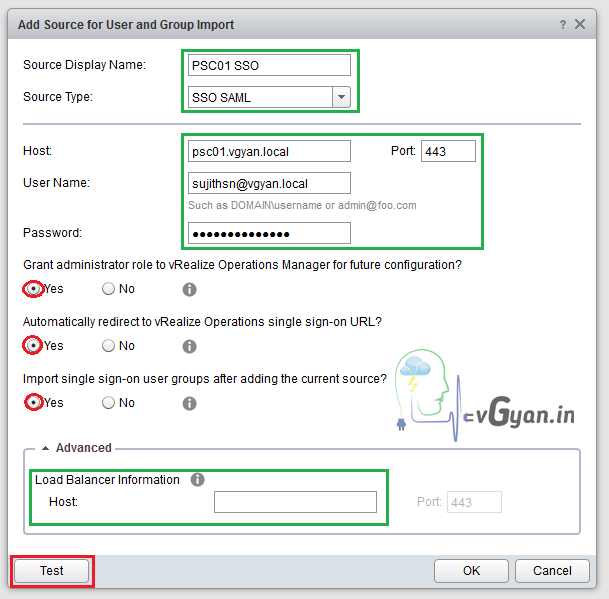
Once Add Source for User and Group Import tab opens,
Provide required PSC details,
Source Display Name: PSC01 SSO
Source Type: SSO SAML
Host: psc01.vgyan.local (PSC node)
User Name: sujithsn@vgyan.local
Password: ******
Grant administrator role to vRealize Operations Manager for future configuration? Yes
Automatically redirect to vRealize Operations single sign-on URL? Yes
Import single sign-on user group after adding the current source? Yes
I selected all options as Yes, because I am in lab environment. If you are in production environment strictly follow your permission policy.
In the Advanced tab, provide if you have any load balancer for Platform Service Controller.
Click on Test button to verify the connectivity.
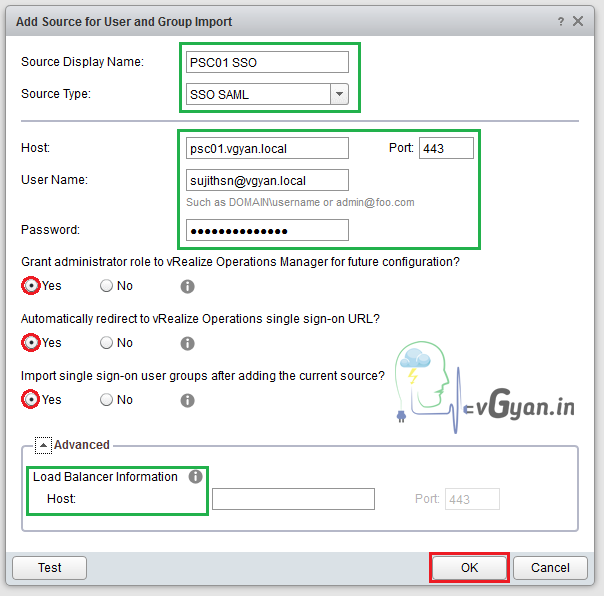
Review and accept certificate and click OK to continue:-

Test connection was successful, we are good to proceed.
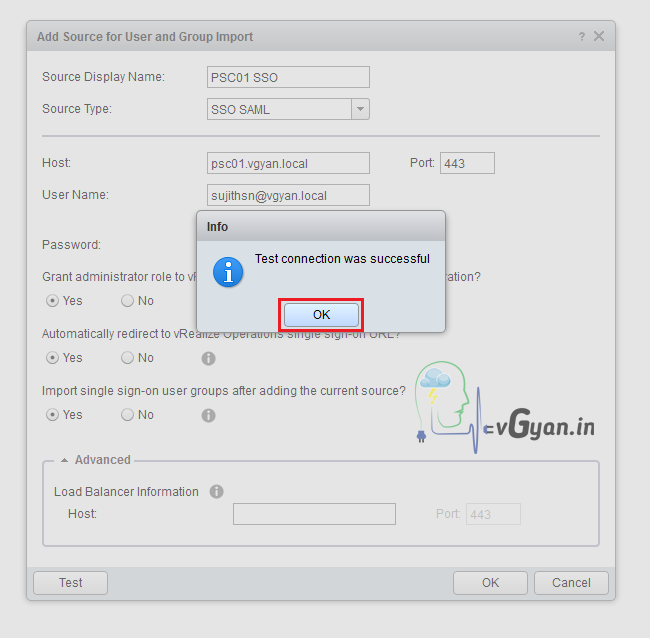
Click OK to continue:-
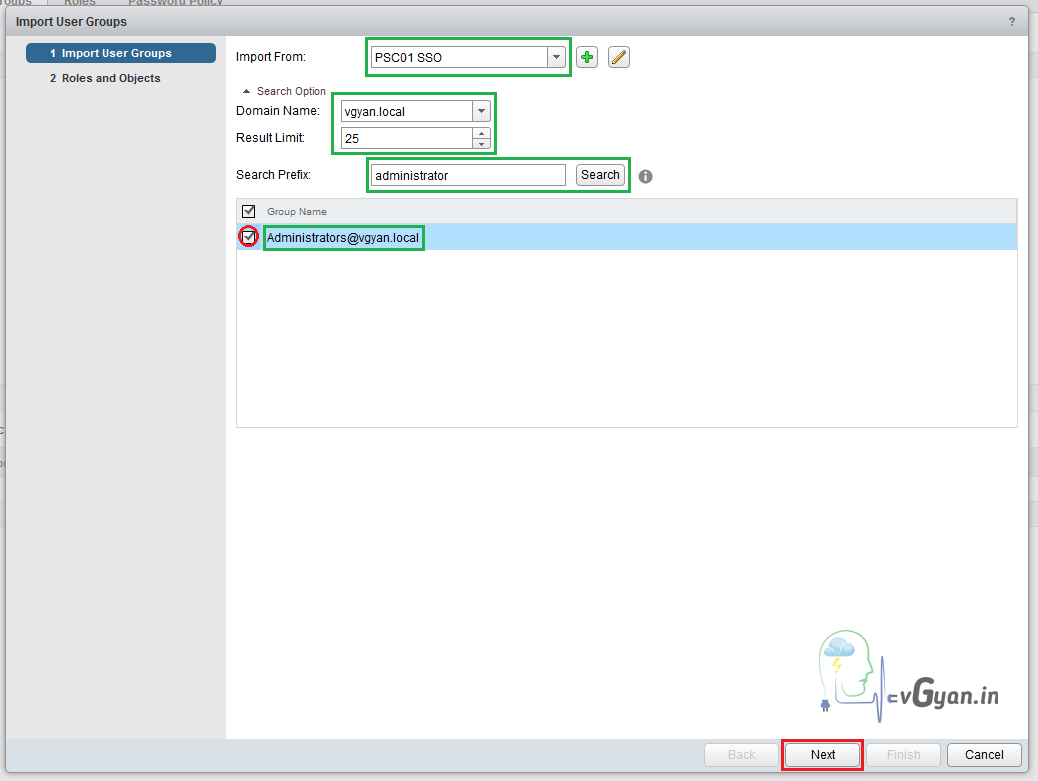
In the Import User Group window,
Import from: PSC01 SSO (which we created)
In search option,
Select Domain Name: vgyan.local
Results limit: default 25
Search prefix: I am going to add my Administrator group, so prifix giving the same.
Click on Search button.
Under the Group Name, Select Administrators group and click Next.
I am selecting Administrator role for selected group.
Assign this role to the selected group.
If you want to customize object access, you can select required objects. I am selecting Allow access to all objects in the system.

Accept and select Yes for warning message.

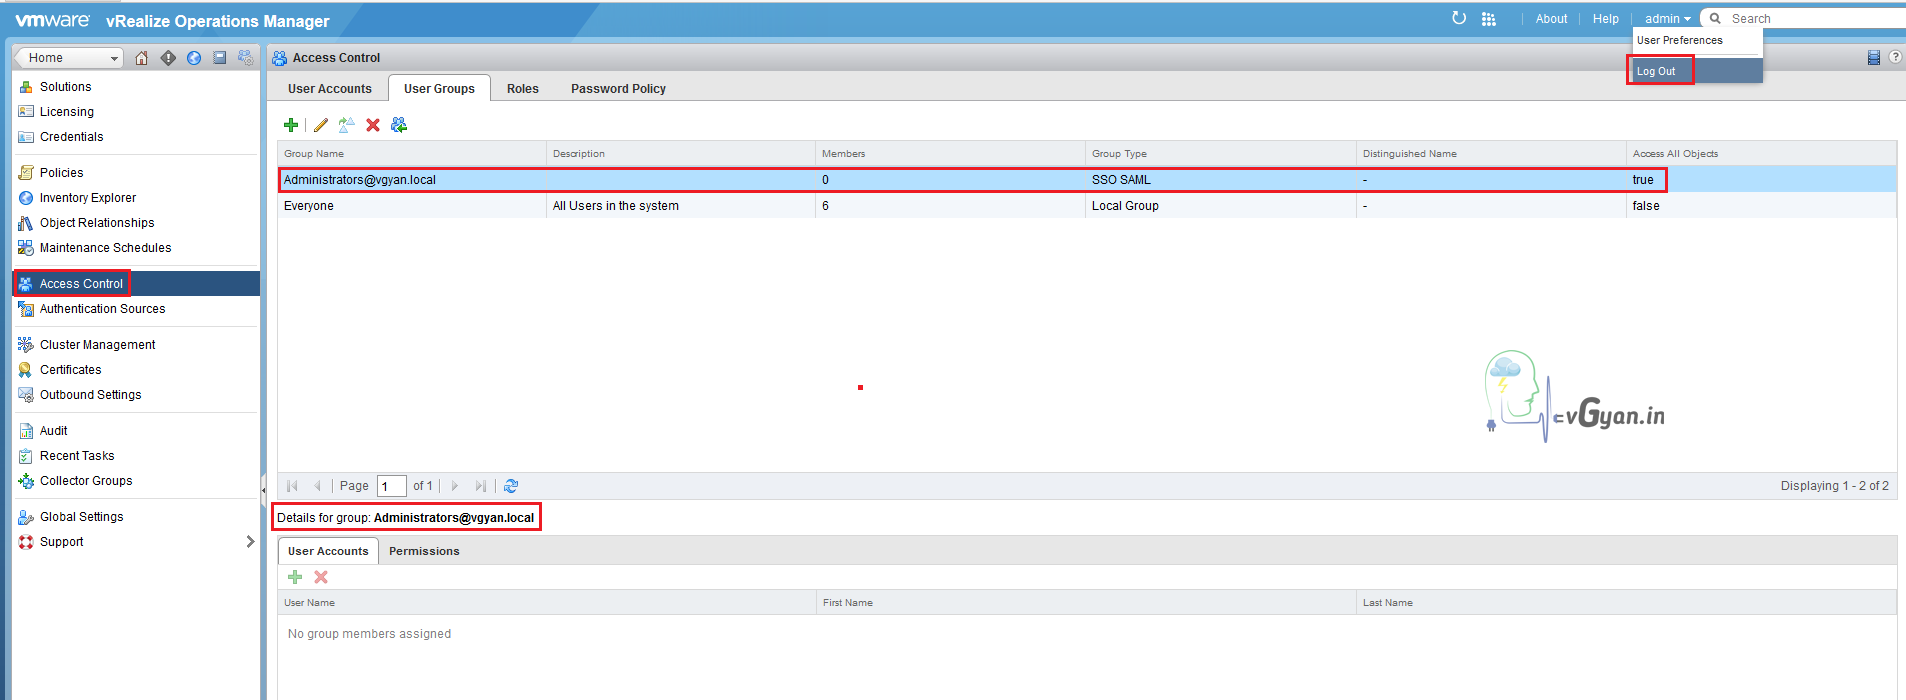
So we successfully added Administrators@vgyan.local group through a SSO SAML connection.
Open your vCenter Server web client in any browser, provide user name and password for login.
vCenter: vcsa01.vgyan.local:9443
User: sujithsn@vgyan.local (part of Administrator group)
Password: ******
Click on Login.

Now we are in vcsa01.vgyan.local web client.

Open a new web page and access vRealize Operations Manager Web client, we already opened vSphere web client with SSO in a different web page, so it will redirect to SSO and login to vROps web Client with out providing login details again.
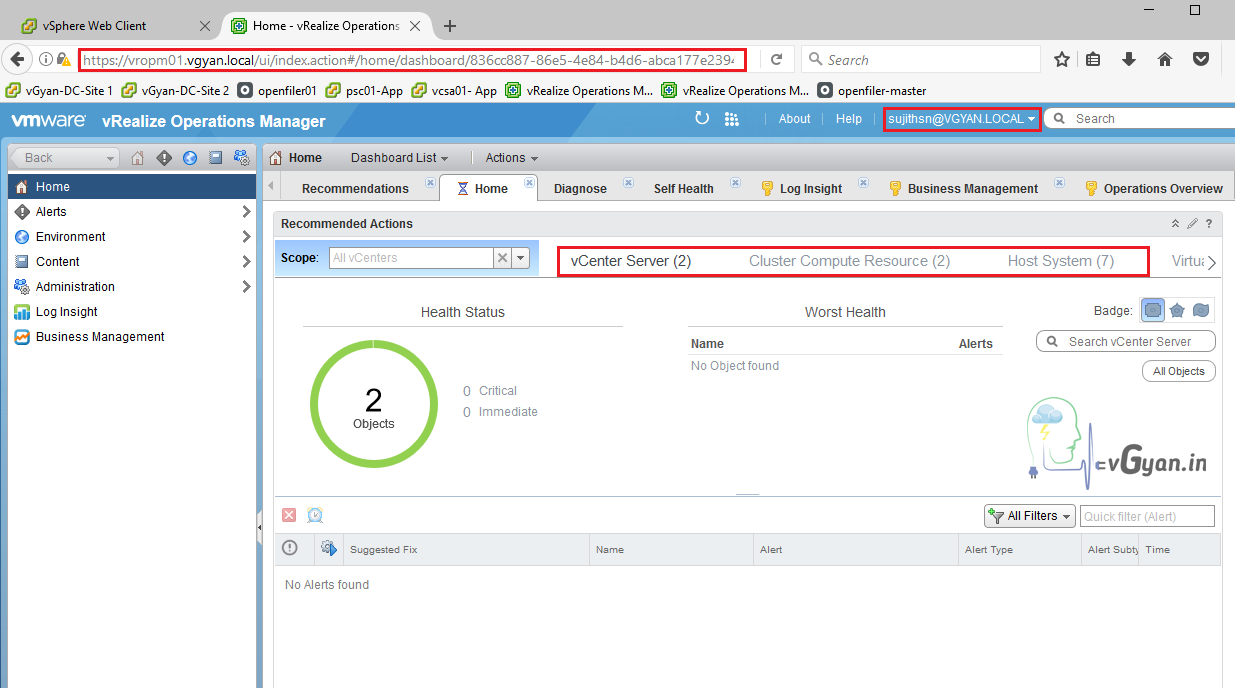
So we added SSO authentication and tested successfully. We will discuss more about vROps 6.5 in upcoming post.
I hope you enjoyed reading this post. Feel free to share this to others if it is worth sharing!!!